
While it’s possible to create your own thumbnails for YouTube using a free tool like Canva, this guide will walk you step-by-step through how to outsource youtube thumbnails if you’d rather leave it to the professionals.
Since thumbnails are such an important factor in getting people to click on your YouTube video, I’ve always preferred to outsource this part of the process. It saves me time so I can focus my energy on other aspects of the business, and gets me better results than if I were to try to create the thumbnail myself.
STEP 1 – Find A Thumbnail Designer You Like
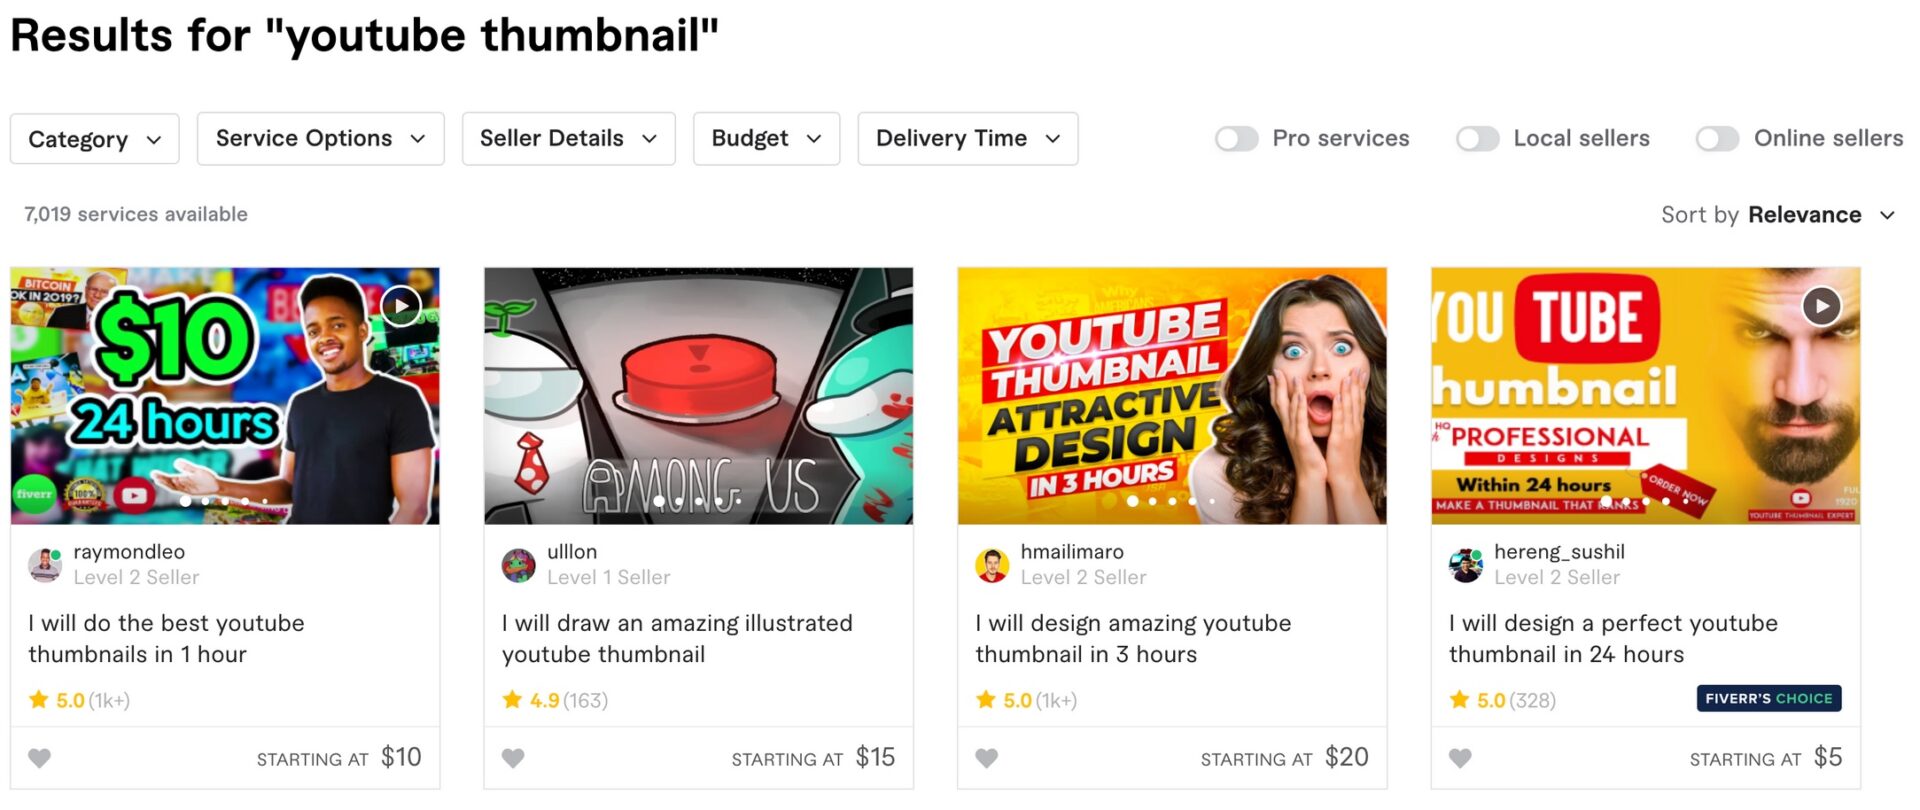
There are a few places where you can find great Thumbnail Designers.
If you look at Fiverr, there are some highly-rated designers who will create a thumbnail for you for as little as $5. If you search “YouTube Thumbnail”, plenty of options should come up, like in the screenshot.
If you’re looking to use someone more professionla , then I’d recommend using Thumbnail Wiz. You can see some of the Before and After comparisons to get a sense of his work.
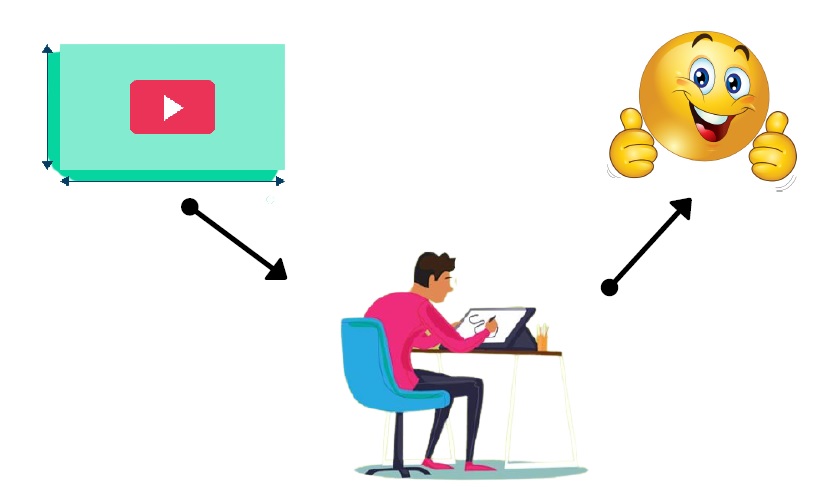
STEP 2 – Communicate What You Need For Each Thumbnail
You can decide the level of creative autonomy you want to give your Thumbnail Designer.
At minimum, you want to give your Thumbnail Designer the title of your video, and perhaps a little background about your video.
Also consider sending your Thumbnail Designer screenshots of other similar videos that performed really well to use as inspiration. If you remember, if a video has gotten many views relative to the number of subscribers the channel has (i.e., 5,000 views on a channel with 4,000 subscribers), that’s a sign that it has a high clickthrough rate, which probably means it has a good thumbnail.
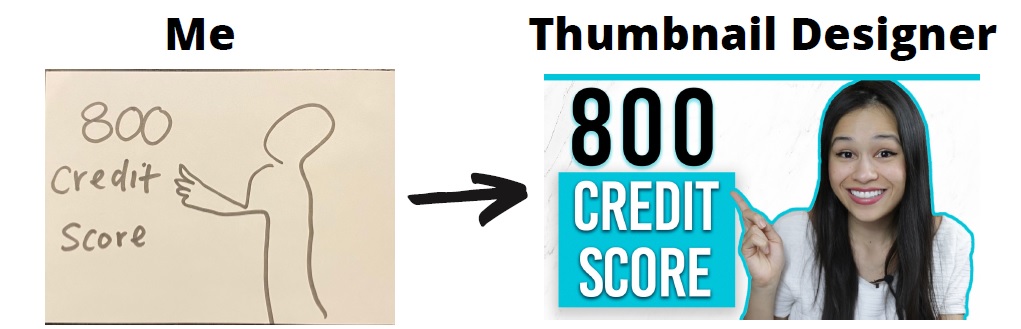
Sometimes, you might know exactly how you want your thumbnail to look. If that’s the case, you’ll provide your Thumbnail Designer more detailed instructions.
An easy way I do this, when I know how I want the thumbnail to look, is just to send over a quick sketch like this (it doesn’t have to be pretty).
Remember that for thumbnails, oftentimes “less is more”. For text on your thumbnail, in most cases, try to keep it to a minimum–ideally 4-5 words at most.
That way, those words will stand out on the thumbnail. If you have any more, it becomes more difficult for a viewer to quickly glance at it and identify what your video is about.
STEP 3 – Give Access to Any Photos
In the last step , you learned tricks for how to make the thumbnail process even quicker by taking photos with multiple poses all in one session.
Now, give your Thumbnail Designer access (via Google Drive, Dropbox, Microsoft OneDrive or similar) to the folder with your thumbnail photos.
You can either specify which photo you want used for the particular thumbnail or leave it up to the Thumbnail Designer to choose.
I personally like to specify which photo I want used each time, but as you build a working relationship with your Thumbnail Designer, you’ll learn what works for you.
STEP 4 – REPEAT!
Once you’re done, it’s time to repeat the process again for your next video!
Consider Following a Course ?
With Lifetime Access ?
We have been the number 1# platform for delivering most demanding course. Becoming Lifetime Member , You will receive all the Premium content For FREE
")
Consider Following a Course ? With Lifetime Access ?
We have been the number 1# platform for delivering most demanding course. Becoming Lifetime Member , You will receive all the Premium content For FREE